Just a few simple ingredients to ooey-gooey, peanut buttery, chocolatey, marshmallowy, s'mores heaven! This recipe for Peanut Butter S'mores Bars takes the traditional s'more adds some peanut butter, oats, and dates to transform it into a yummy, no-bake, tasty treat.
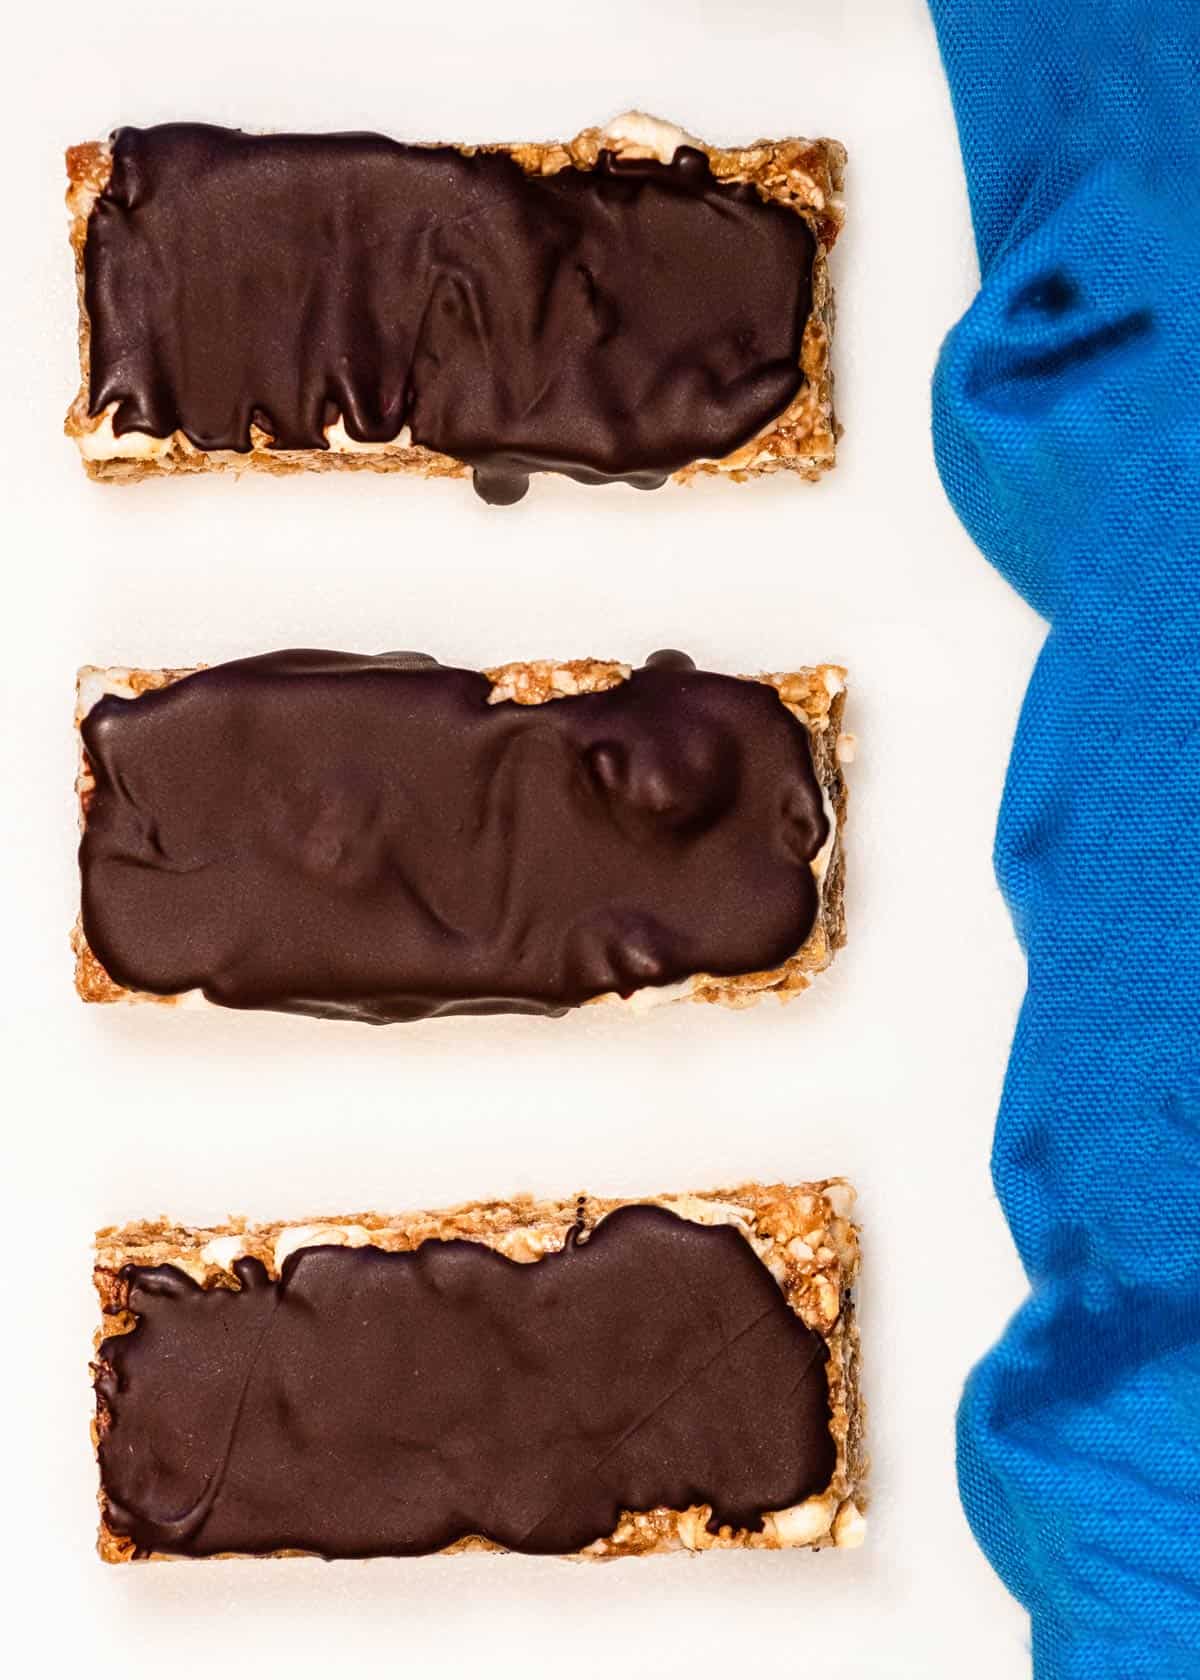
A few months ago I made some vegan rice crispy treats that were amazing as always, but left me with an opened half bag of vegan marshmallows and two cups of crisp rice cereal. Rice crispy treats always seem to leave me pondering about leftover marshmallows. I can eat the leftover crisp rice cereal for breakfast, but the marshmallows I just stare at on the shelf. It sounds ridiculous, but it is a thing. I find myself left with not enough marshmallows to base an entire recipe around, but enough to toss into something.
Of course, the obvious answer is hot chocolate for spare marshmallows. But it was still summer outside. The idea of a warm drink in 90 degree heat just made me want to sweat. But the idea of chocolate and marshmallows did not make me want to sweat.
So one afternoon as I was sitting in the kitchen eating a spoonful of peanut butter while doing my weekly kitchen inventory, I thought why not do s'mores with peanut butter. I mean who doesn't love s'mores!?! And who doesn't love peanut butter!?!
But instead of just making typical s'mores I decided to create bars. I decided to make a kind of treat that can be eaten as a dessert or a snack. A granola like bar, with a base of oats and dates.
And granola bars have become so easy to make over the last decade. The discovery of what you can create using a combination of dates, oats, and nut butter has been a game changer. You don't even have to cook them anymore!
I know you may be thinking she is wrong. There have always been recipes for no-bake granola bars. And that is true. Yet, dates have changed my granola bar making in a big way over the last 10 years.
What Are S'mores?
Traditionally s'mores are a campfire treat consisting of chocolate and marshmallows in between graham crackers. The first actual documented recipes for S'mores started appearing in cookbooks around the 1920's, but the treat was already known to be very popular with both the Girls Scouts and the Boy Scouts.
Fun fact, the word s'more is actually a contraction for the phrase "some more".
Over the years, the chocolate, marshmallow, and graham cracker flavor combination has been used to create recipes for cakes, cookies, bars, drinks, and more.
Ingredients Needed
This recipe requires under 10 ingredients! You can easily find most of the ingredients at almost any grocery store.
- Medjool dates
- Old fashioned oats
- Rice crisp cereal
- Peanuts
- Peanut Butter
- Agave
- Vegan Marshmallows
- Chocolate Chips
As the title of the recipe indicates peanut butter is a highlighted addition to these s'mores bars. The creamy peanut butter not only adds an addictive touch in flavor, but it helps to bind the bars together along with the medjool dates. Together the peanut butter and dates make a solid base for the bars while the agave helps to both support that base and add a touch of sweetness too.
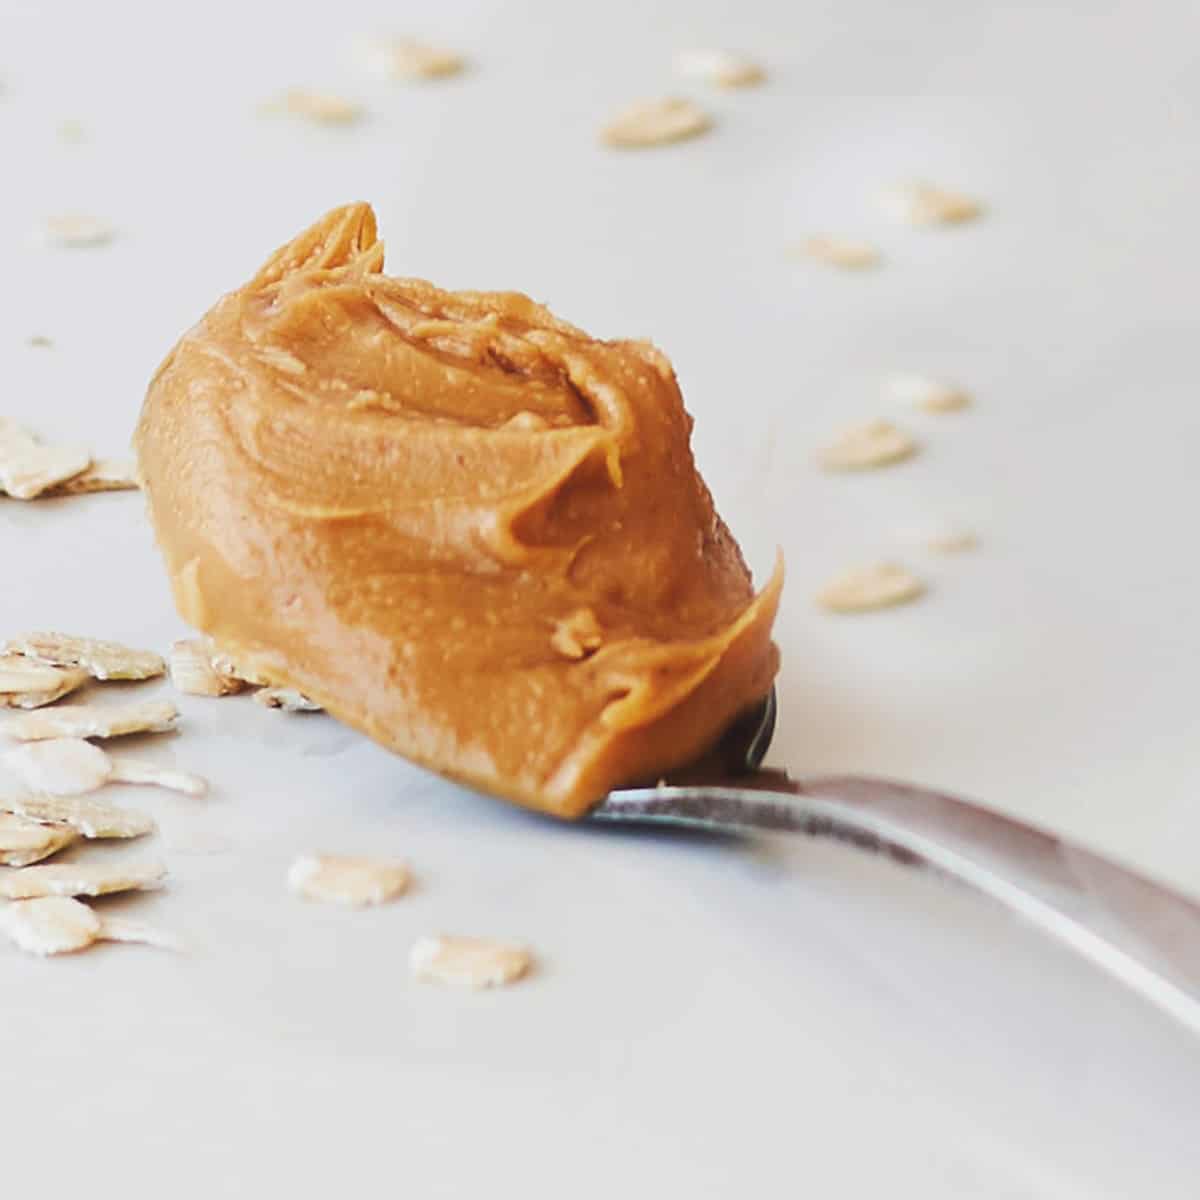
Old fashioned oats and crisp rice cereal are used in place of the traditional graham crackers in this recipe. Oats are commonly used in no-bake date dough bars. Crisp rice cereal is used to add a bit of crunch to the bars along with the chopped peanuts.
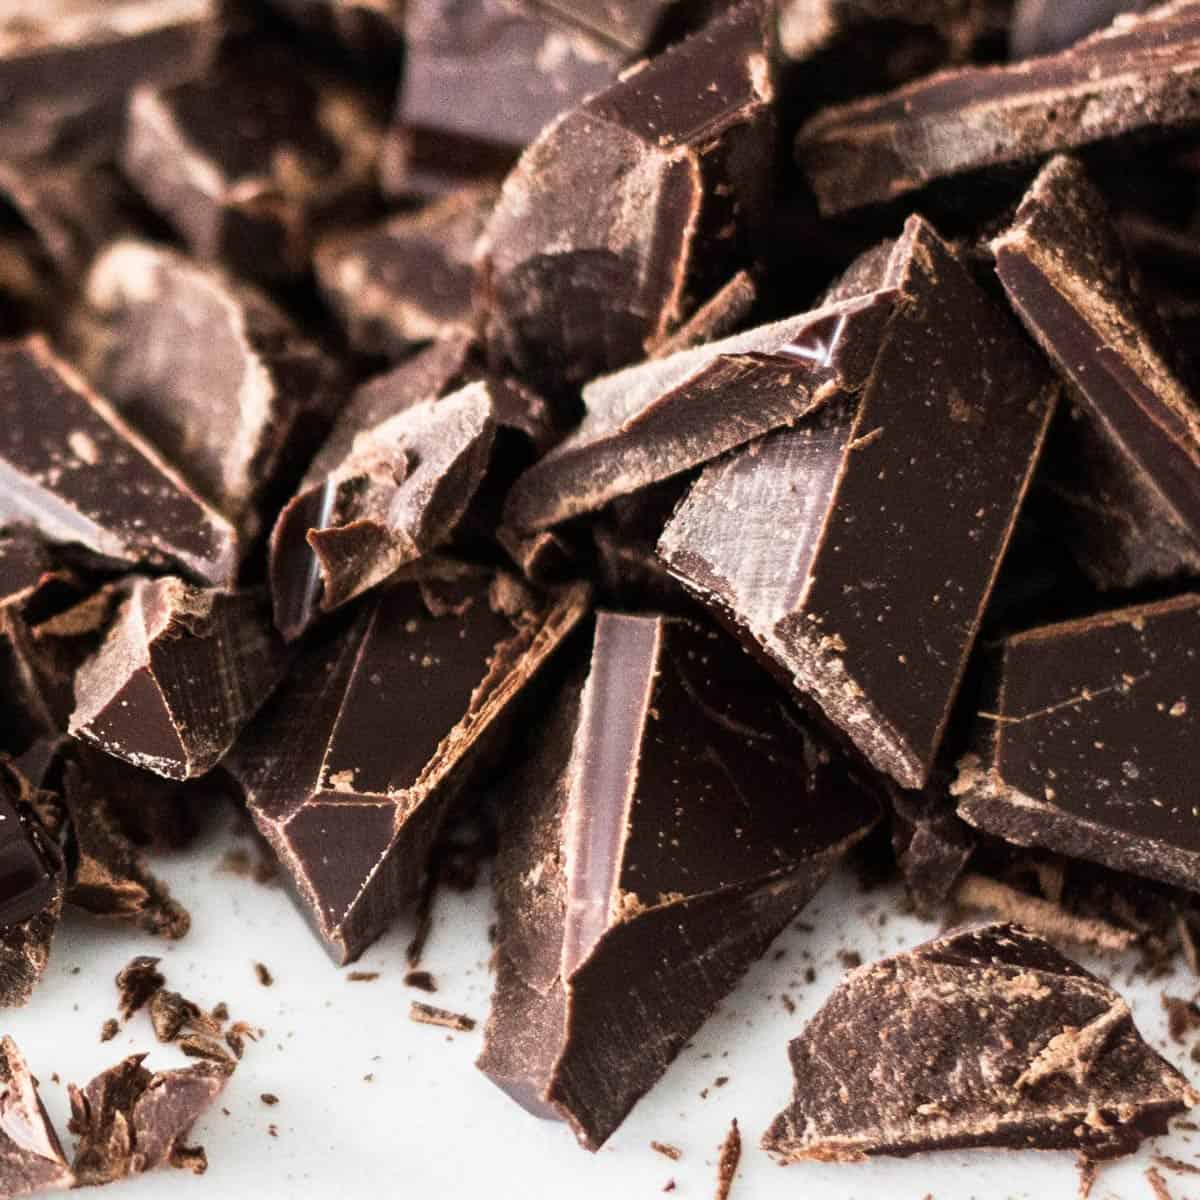
And of course you can't have s'mores without marshmallows and chocolate!
How to Make Peanut Butter S'mores Bars
These yummy bars are quick and easy to make. The good news is that you don't need an oven. Yet, you do need a food processor. Your hands may get good and sticky while making this recipe, but the yummy end result will be well worth the short and sticky effort.
Before starting the recipe you have the option of toasting the oats for 10 minutes in the oven at 350 degrees fahrenheit. This is a no-bake recipe, but some people prefer toasted oats. It is completely up to you. Raw oats will work perfectly.
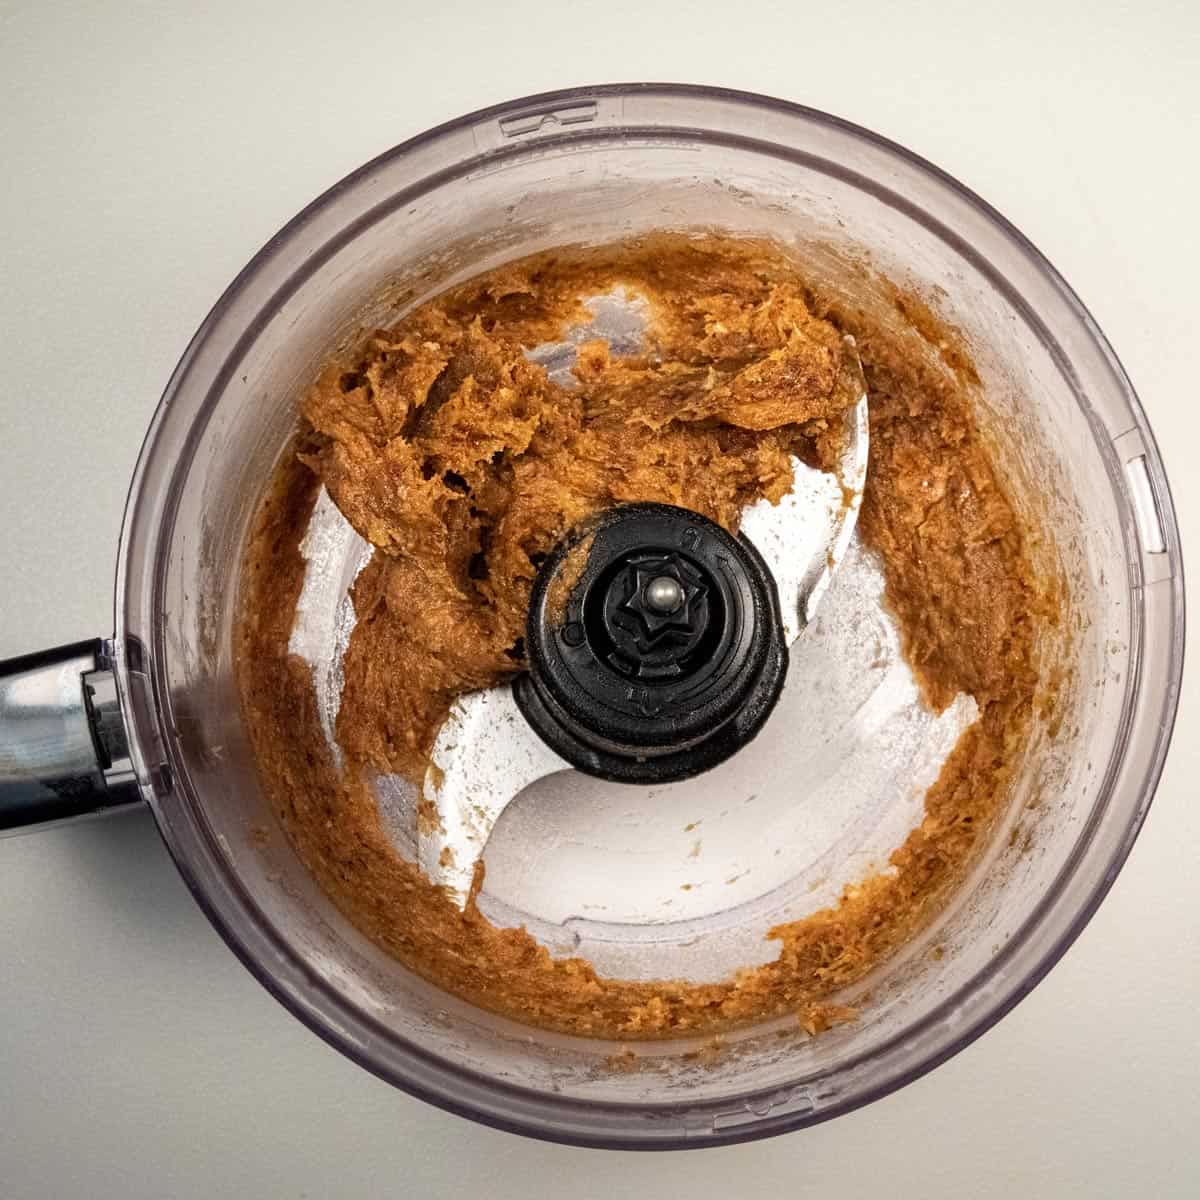
To make the base of the bars you will put the medjool dates in a food processor and pulse them until they resemble what looks like gooey dough. If your medjool dates are on the dry side you will want to soak them in hot water for about 10 minutes before doing this step. Soft plump dates work best.
Make sure the peanut butter is nice and creamy before moving on to the next step. If it isn't then you will want to warm the peanut butter along with the agave in a small saucepan at low heat. Once the peanut butter has softened up you can remove it from the heat and set aside.
Now for the sticky part! Combine the oats, rice cereal, and chopped peanuts in a large bowl and toss together. Now add in the peanut butter, agave, and date dough to the mixture and incorporate all the ingredients together with your hands or a wooden spoon. The honest truth is that hands work the best for this job. Once the ingredients are well combined add in the marshmallows and mix again to incorporate.
Then put the gooey bar mixture into an 8x8 square pan lined with wax or parchment paper. Press the mixture down into the pan to get it as evenly flat as possible. Now put the pan in the freezer to get cold and firm up.
While you are waiting for the bars to firm up, melt the chocolate with the coconut oil in a double broiler at a low heat. Be careful not to heat the chocolate up too quickly or it will burn.
Next, take the pan out of the freezer and turn it over onto a cutting board to pop the s'mores mixture out. Now, cut into 10 equally sized bars.
The next step is to put the cut bars on a cooling rack that has been placed on top of a sheet pan lined with parchment paper. To finish, cover each bar with 1-2 teaspoons of melted chocolate. Finally, place the bars in the fridge so that the chocolate can firm up and set.
These peanut butter s'mores bars will keep in the fridge for up to a week. I remove them from the fridge about 15 minutes before eating. You can also store the bars in the freezer for up to 3 months. To store in the freezer, you will want to place wax or parchment paper in between each bar to prevent them from freezing together in one big clump.
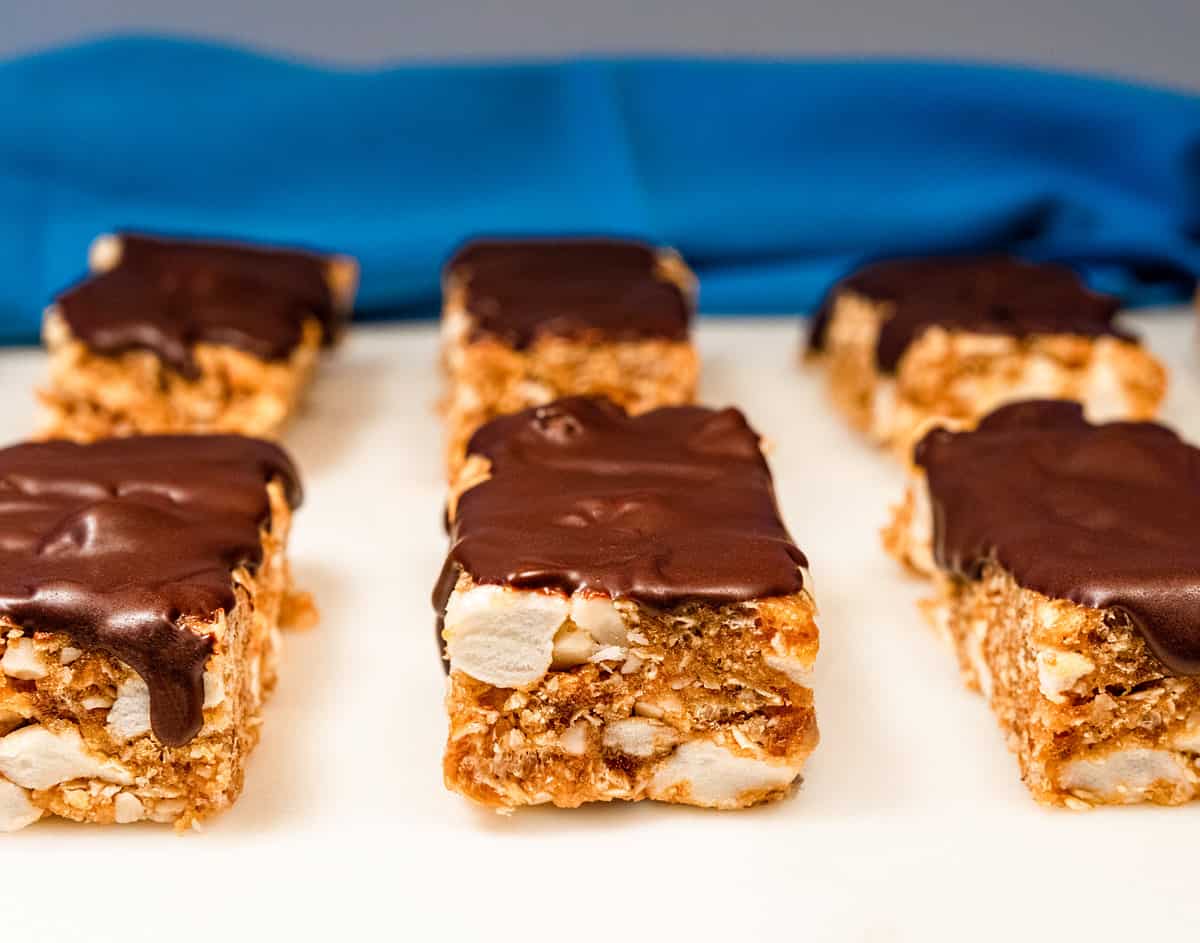
You will love these Peanut Butter S'mores Bars because they are:
- Ooey-gooey good
- Peanut buttery addictive
- Chocolatey and marshmallowy
- No-bake and easy to make
- S'mores deliciousness in a granola bar
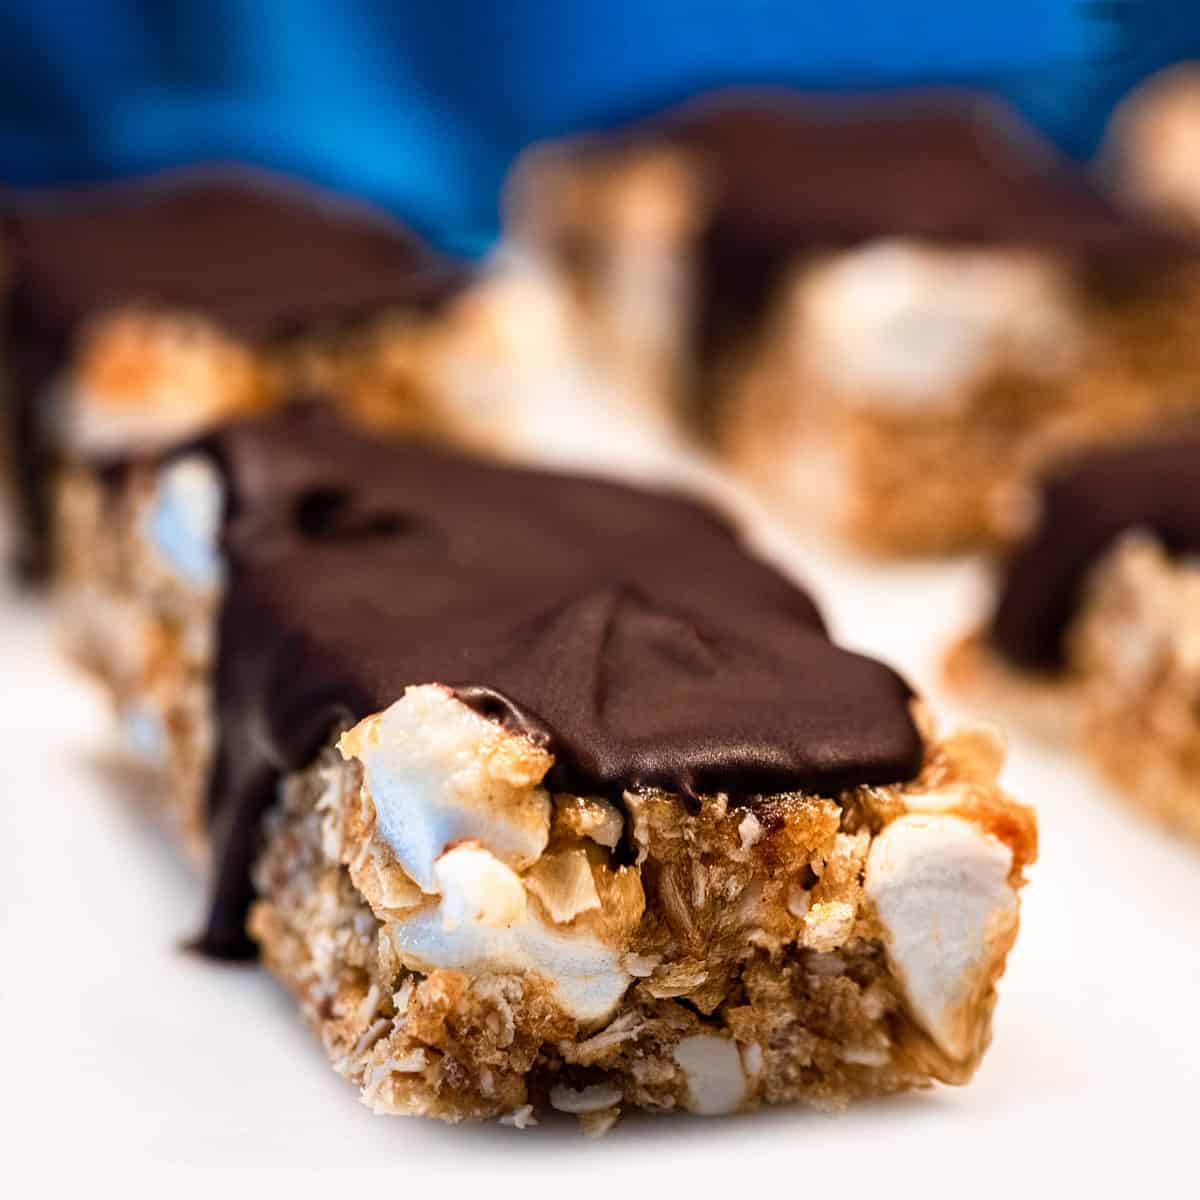
I hope you love this recipe and enjoy devouring these easy to make Peanut Butter S'mores bars!
If you try this recipe please let me know how it turns out by leaving a comment and rating. You can also hashtag #danceswithknives with a photo of your creation on Instagram where you can find me @dances_with_knives.
If you would like to stay up to date with my latest recipes please subscribe to my email list.
Peanut Butter S'mores Bars (Gluten-Free)
Equipment
Ingredients
- 1 cup medjool dates, pitted (1 cup packed)
- 1 cup old fashioned oats
- 1 ½ cup rice crisp cereal
- ½ cup unsalted roasted peanuts, chopped
- ⅓ cup peanut butter, no sugar added
- 3 tablespoon agave or maple syrup
- 1½ cup vegan marshmallows
- ½ cup vegan chocolate chips or chunks
- ½ teaspoon coconut oil
Instructions
- This step is optional. Spread the oats out onto a sheet pan and toast them at 350 degree fahrenheit for about 10 minutes just until slightly brown. This will produce a toasty flavor, but isn't necessary for the recipe. You can use raw oats.
- Pulse the dates in a food processor until they resemble a dough. The dates need to be good and gooey. If your dates are dry then soak them in very hot water for about 10-15 minutes before doing this step.
- If your peanut butter is nice and creamy you can skip warming it up. But if your peanut butter is not soft then combine it with the agave and warm on low heat in a small saucepan or the microwave. Just remember to do this at a low heat. Then set aside.
- Put the oats, rice cereal, and chopped peanuts into a large bowl. Mix together.
- Add the peanut butter and agave mixture along with the date dough mixture to the bowl with the oats, rice, and chopped peanuts. Now mix it all together with your hands or a spoon to incorporate well. Now add the vegan marshmallows and work them in.
- Once the mixture is good and combined, place it in an 8x8 square pan lined with parchment paper. Press the mixture down into the pan to level it out. Try to get it as flat and packed in as you can. If you aren’t using a nonstick pan you will definitely want to line it with parchment paper. Now place the pan in the freezer so that the mixture gets cold and firms up.
- Melt the chocolate by combining it with the ½ teaspoon of coconut oil in a double boiler. Then heat it at a low temperature until fully melted.You can also melt the chocolate in the microwave in a microwave safe bowl. Heat in the microwave at the very lowest setting for 30 seconds. If the chocolate is still not melted heat again for another 10 seconds at the very lowest setting and so forth until the chocolate is fully melted. You want to make sure not to heat the chocolate too quickly or it will burn.
- Once the mixture is good and cold turn the pan over onto a cutting board to pop out the 8x8 square of yummy goodness. Now, cut into 10 bars.
- To coat the bars with chocolate, place them on a cooling rack. Now place that cooling rack with them on it over a sheet pan lined with wax or parchment paper. Pour 1-2 teaspoon of melted chocolate over each bar to fully coat. Place the bars in the fridge for the chocolate to set.
- Store the bars in the fridge for up to a week or in the freezer for up to 3 months. I remove the bars from the fridge about 15 minutes before eating. They can also be stored at room temperature for a few days, but I find that they keep much better when kept cold.


Kim @ DancesWithKnives says
Thanks Hope! I appreciate the feedback.