My vegan pumpkin cheesecake no bake recipe is a must-try! It's creamy, full of pumpkin spice flavor, and incredibly easy to make. Whether you're hosting a Thanksgiving holiday gathering or just craving something tasty, it's the perfect vegan fall dessert.

Why You'll Love My Recipe
There's so much to love about my easy vegan pumpkin cheesecake recipe. First of all, it's no-bake, which means no hot ovens, no water baths, and no worrying about cracks in your cheesecake.
It's easy to make and scrumptious. Can't beat that combo! The graham cracker crust is buttery, sweet, and comes together in minutes. The pumpkin filling is full of fragrant pumpkin spice flavor and ridiculously creamy, thanks to cashews and coconut oil.
But the real magic is that it's completely vegan, yet no one would ever guess. It's rich, satisfying, and hits all the notes of a classic cheesecakes with none of the dairy or eggs.
Perfect for impressing guests or treating your family to something special, this vegan no bake pumpkin cheesecake delivers and only takes 15 minutes of prep time!
Ingredients Needed
You might be surprised to learn that vegan pumpkin cheesecake recipes don't call for any fancy ingredients. You likely have a lot of them right in your pantry.

For the Crust:
- Graham Cracker Crumbs: Used to form the crunchy base of the cheesecake. You can use store-bought vegan graham cracker crumbs for convenience or do like me and crush your own from whole graham crackers.
- Vegan Butter: Helps bind the crumbs together and add a rich, buttery flavor to the crust. Coconut oil can also work as a substitute if you prefer.
- Light Brown Sugar: I add just a touch of light brown sugar for sweetness. It also adds a subtle caramel flavor that goes well with the pumpkin.
For the Pumpkin Cashew Filling:
- Raw Cashews: Soaked cashews are the secret to making my a silky, creamy dairy free pumpkin cheesecake filling. They blend into a rich base that mimics traditional cream cheese in texture.
- Pumpkin Puree: This is where the classic fall flavor comes in. Make sure to use pure packed pumpkin puree, not pumpkin pie filling, which is too watery.
- Refined Coconut Oil: Melted coconut oil helps the filling set and gives this no bake vegan pumpkin cheesecake its luscious texture. I use refined coconut oil, which has little flavor but you can also use regular coconut oil if you want to add a coconut taste.
- Maple Syrup: Used to sweeten the cheesecake filling and add some rich fall flavor, maple syrup goes beautifully with pumpkin. You can also use agave.
- Light Brown Sugar: Adds another layer of deeper flavor to balance the tang of the lemon juice and the richness of the cashews.
- Fresh Lemon Juice: I use fresh lemon to mimic the flavor of a traditional cheesecake. It adds brightness and balances out the richness of the filling.
- Vanilla Extract: A splash of vanilla is added to round out the flavors and add warmth. I recommend using pure vanilla extract for that classic cheesecake taste.
- Pumpkin Pie Spice: This fragrant spice blend brings all the warm and cozy flavors. You can use my recipe to make your own homemade pumpkin pie spice or use store-bought.
- Salt: I add just a pinch to enhance all the flavors and balance the sweetness. Salt is key in dessert recipes.

How To Make Step-By Step
Learning how to make pumpkin cheesecake vegan is really easy! Just follow my simple instructions and you'll have a delicious vegan dessert in no time.
To begin, if I'm starting with whole graham crackers, I pulse them in the food processor until I have fine crumbs. Next, I stir the crumbs together with melted vegan butter and brown sugar. Then I firmly press the mixture into the bottom of an 8" springform pan and pop it in the freezer for about 15 minutes to firm up.
While the graham cracker crust chills, I drain my cashews and toss them into a blender along with the packed pumpkin purée, melted coconut oil, maple syrup, and brown sugar. I blend until everything is smooth and creamy, scraping down the sides as needed with a rubber spatula.
Now, I add the lemon juice, vanilla extract, pumpkin pie spice, and salt, and blend again. The goal is a super silky filling that's thick but pourable. You don't want it to be grainy at all.

When the filling is ready, I take the chilled crust out of the freezer and pour the pumpkin filling right on top. I smooth it out with an offset spatula and put the whole thing in the freezer for 2 to 3 hours, or until it's fully set.
Once the cheesecake is fully set, I take it out of the freezer, cover it with plastic wrap, and store it in the fridge until ready to serve. If serving right away, I let it thaw for about 20 minutes before serving with coconut whipped cream.
And that's it! Easiest no bake vegan pumpkin cheesecake ever! Perfect for all your autumn October and November gatherings.
✏️ Recipe Card! Scroll down to the bottom of the post for my full vegan pumpkin cheesecake no bake recipe with the exact amounts.

Expert Tips For Success
- Use Packed Pumpkin: Make sure you're using packed pumpkin puree that's thick, not watery. This keeps the filling from being too soft. I avoid pumpkin pie filling, as it's pre-sweetened and too liquidy.
- Fully Soak the Cashews: Soaking the cashews is crucial for a silky-smooth filling. If I can, soak them overnight for the best texture. If I'm short on time, I boil them for 10 minutes.
- Use a High-Powered Blender: A strong blender or food processor is key for achieving that ultra-smooth filling. I always say one of the best investments you can make is a quality blender.
- Room Temperature Ingredients: Make sure your coconut oil is melted but not hot and all your other ingredients are at room temperature before blending. If the coconut oil is too cold, it can solidify and cause the filling to become lumpy.
- Press the Crust Firmly: When forming the crust, press it down firmly into the pan. A well-packed crust helps it hold together when slicing. I use the back of a spoon or a flat-bottomed glass to really press it in.
- Chill Time is Key: Don't rush the setting process. You have to let this no bake vegan pumpkin cheesecake firm up in the freezer for at least 2 to 3 hours, or overnight if possible.
- Cutting Clean Slices: For nice, clean slices, I run my knife under hot water, then dry it off before cutting each slice. This helps prevent the filling from sticking to the knife.
Variations
Chai-Spiced: I made my vegan cheesecake pumpkin pie spiced! But you can swap out the pumpkin spice for my chai spice blend to make pumpkin chai cheesecake. You could even use both!
Chocolate Lover's: Add 2 tablespoons of cocoa powder to the graham cracker crust for a subtle chocolate flavor. You can also drizzle melted dark chocolate over the top of the cheesecake before serving.
Citrus Twist: Add a bright burst of flavor by folding the zest of one orange or lemon into the filling. I think citrus pairs beautifully with the pumpkin and spices.
Ginger Snap Crust: For a spicier, more robust crust, use crushed vegan ginger snaps instead of graham crackers. I've even used a combination of both.
Gluten-Free Crust: For a vegan and gluten free pumpkin cheesecake all you have to do is use gluten free graham crackers or cookies to make the no bake crust.
Toppings: I love topping the cheesecake with my vegan whipped cream and a sprinkle of pecans. You could also add a drizzle of my vegan salted caramel sauce, maple syrup, or chocolate. Even a dollop of vegan cream cheese frosting and a sprinkle of my maple pecan granola would be yummy.

Storage and Freezing
Refrigerator: If you have leftover cheesecake, cover it tightly with plastic wrap or transfer it to an airtight container. It will stay fresh in the fridge for 4 to 5 days.
Freezing: This no bake vegan pumpkin cheesecake freezes beautifully. Wrap the whole cheesecake, or individual slices, tightly in plastic wrap and then place them in a freezer-safe container for extra protection. It will keep for up to 2 months in the freezer.
When you're ready to serve, thaw the cheesecake in the refrigerator overnight, or let it sit on the counter for 20 to 30 minutes until it's soft enough to slice.
Make Ahead
This cheesecake is perfect for making ahead! Since it needs time to set in the freezer, you can prepare it a day or two before you need it.
Simply follow my vegan pumpkin cheesecake no bake recipe, freeze the cheesecake, and then store it in the fridge if you're serving it the next day. If you're making it further in advance, store it in the freezer and just transfer it to the fridge to thaw overnight before serving.

Frequently Asked Questions
A springform pan makes it easier to remove the cheesecake, but you can use a regular pie dish if that's all you have. Vegan pumpkin pie cheesecake is just as yummy!
If your cheesecake is too soft and not setting properly, it may not have had enough time in the freezer, or you may have used too little coconut oil.
Making pumpkin cheesecake dairy free isn't difficult, but you need to use the full amount of coconut oil to achieve that creamy, firm texture. Also, be sure to allow the cheesecake to freeze for at least 2 to 3 hours.
Adding more maple syrup or brown sugar makes the filling sweeter but also softer due to the extra moisture. To keep it firm, you may need to add more cashews.
If you reduce the sweeteners, to make a more healthy pumpkin cheesecake recipe the filling can become too dense and less creamy. To fix this, you can add a splash of non-dairy milk to maintain the right texture.
Make sure to subscribe to my email list to stay up to date with all my amazing vegan recipes!
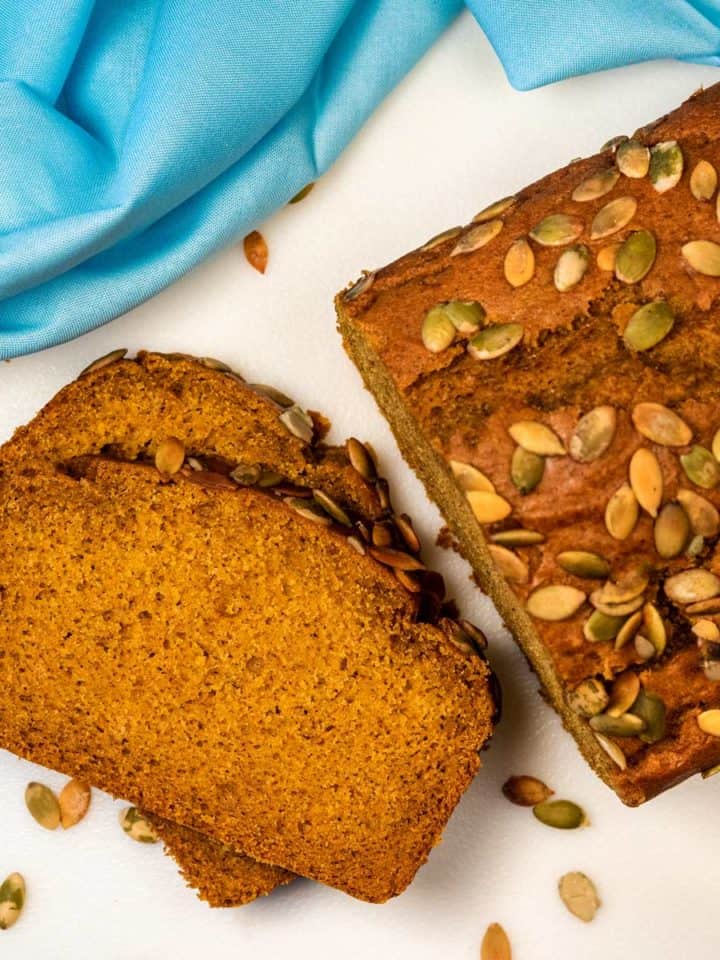
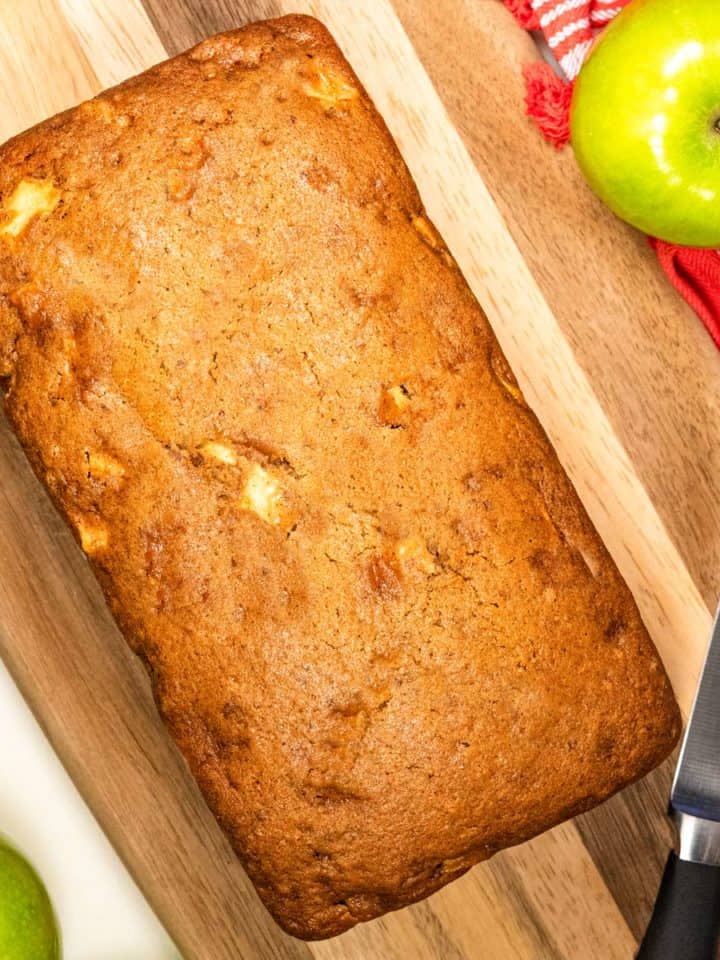
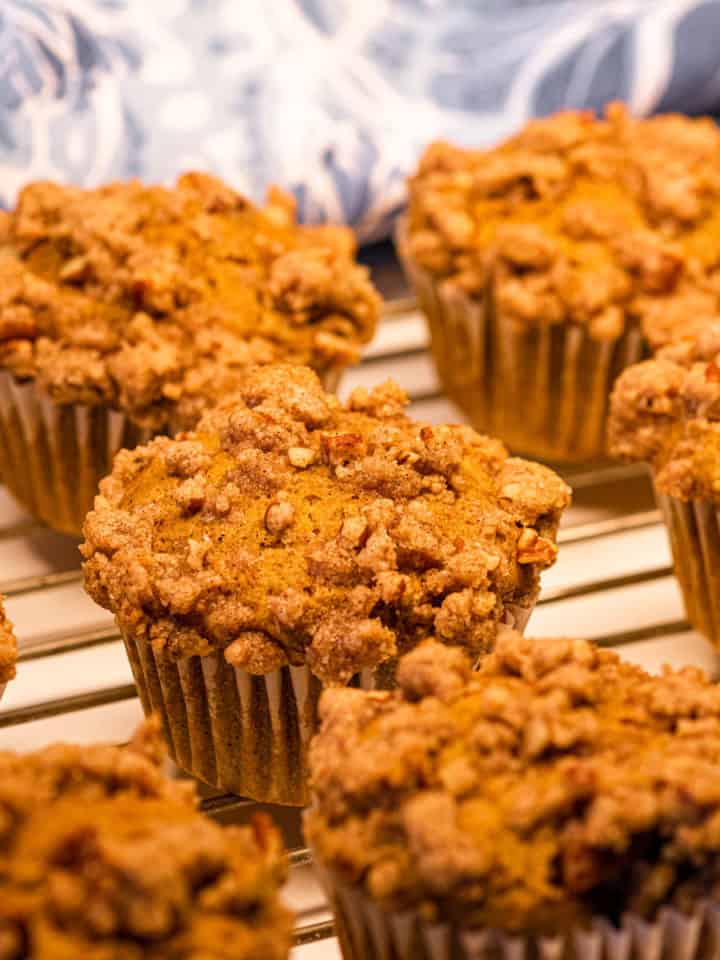
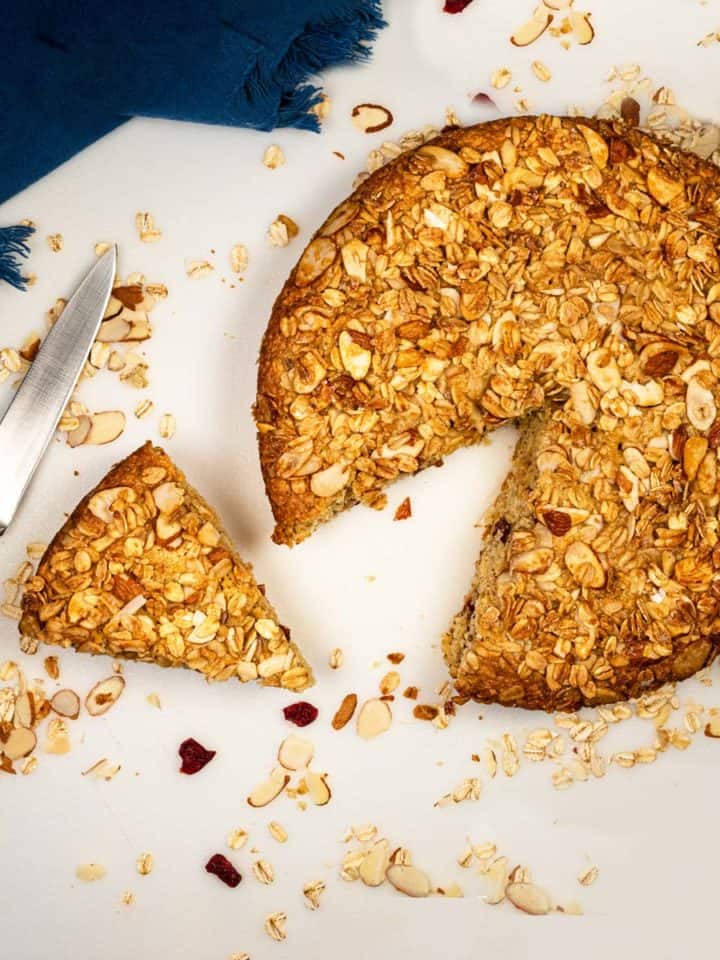
More Vegan Fall Recipes
⭐️ One Last Thing! If you make my recipe for vegan pumpkin cheesecake please leave a review and rating to let me know how you liked it! Doing so helps other readers and me too! Your feedback makes a difference.

Vegan Pumpkin Cheesecake (No Bake)
Ingredients
Graham Cracker Crust
- 1 ½ cups graham cracker crumbs (about 12 whole graham crackers)
- 6 tablespoons vegan butter (melted)
- 2 tablespoons light brown sugar
Cheesecake Filling
- 2 ½ cups raw cashews (soaked)
- 1 ⅓ cups pure pumpkin puree (packed pumpkin)
- ½ cup + 2 tablespoons refined coconut oil (melted)
- ⅔ cup pure maple syrup
- ⅓ cup light brown sugar
- 3 tablespoons fresh lemon juice
- 1 teaspoon pure vanilla extract
- 1 tablespoon pumpkin pie spice
- ½ teaspoon salt
Instructions
Prepare the Crust:
- If you're starting with whole graham crackers, pulse them in a food processor until they turn into fine crumbs.
- Combine the graham cracker crumbs, melted vegan butter, and brown sugar in a bowl. Make sure the crumbs are evenly coated in the butter and sugar.
- Press the mixture firmly into the bottom of an 8" springform pan, making sure it's evenly distributed.
- Place the crust in the freezer for 15 minutes to set.
Prepare the Filling:
- In a high-powered blender or food processor, combine the drained raw cashews, pumpkin puree, melted coconut oil, maple syrup, and brown sugar. Blend on high until velvety smooth and creamy, scraping down the sides as needed.
- Add the lemon juice, vanilla extract, pumpkin pie spice, and salt, and blend again until well incorporated.
- Pour the pumpkin filling over the chilled crust and spread it evenly.
- Place the assembled cheesecake in the freezer for 2 to 3 hours, or until fully set.
- Once set, cover the cheesecake with plastic wrap and transfer it to the refrigerator until ready to serve. If serving directly from the freezer, let it thaw for about 20 to 30 minutes before slicing.
- The vegan cheesecake will keep for about 4 to 5 days in the refrigerator. You can also store it in the freezer for up to 2 months.
Notes
- Properly measure ingredients for the best results.
- Feel free to customize the spices to your liking.
- Every freezer works differently. Adjust the setting time as needed to ensure the cheesecake is firm.
Daniel says
I tried this recipe this week and it turned out great. Much better texture than I expected. I made another recipe last year but didn't soak the cashews enough I don't think. I think even my non vegan family will approve if I take this to Thanksgiving.
Michael says
Loved when you made this for Thanksgiving. I'm going to try making it for my family this year. Thanks for finally posting the recipe!